This Christmas I decided "home-crafted, home-made with love gifts" would be my thing. And with the help of the amazing and awesome
Pintrest, I found all kinds of ideas! However--I only did about 3 of my intended crafts!!!
So many crafts, so little time!!
I found this super-duper easy project, that I think is practical, cheap (not that I'm trying to being cheap--but you know what I mean) and has a cuteness factor of a 7!!!
AND it uses Mod Podge! Which is always a bonus in my book!
So easy, here it goes:
Holiday Coasters
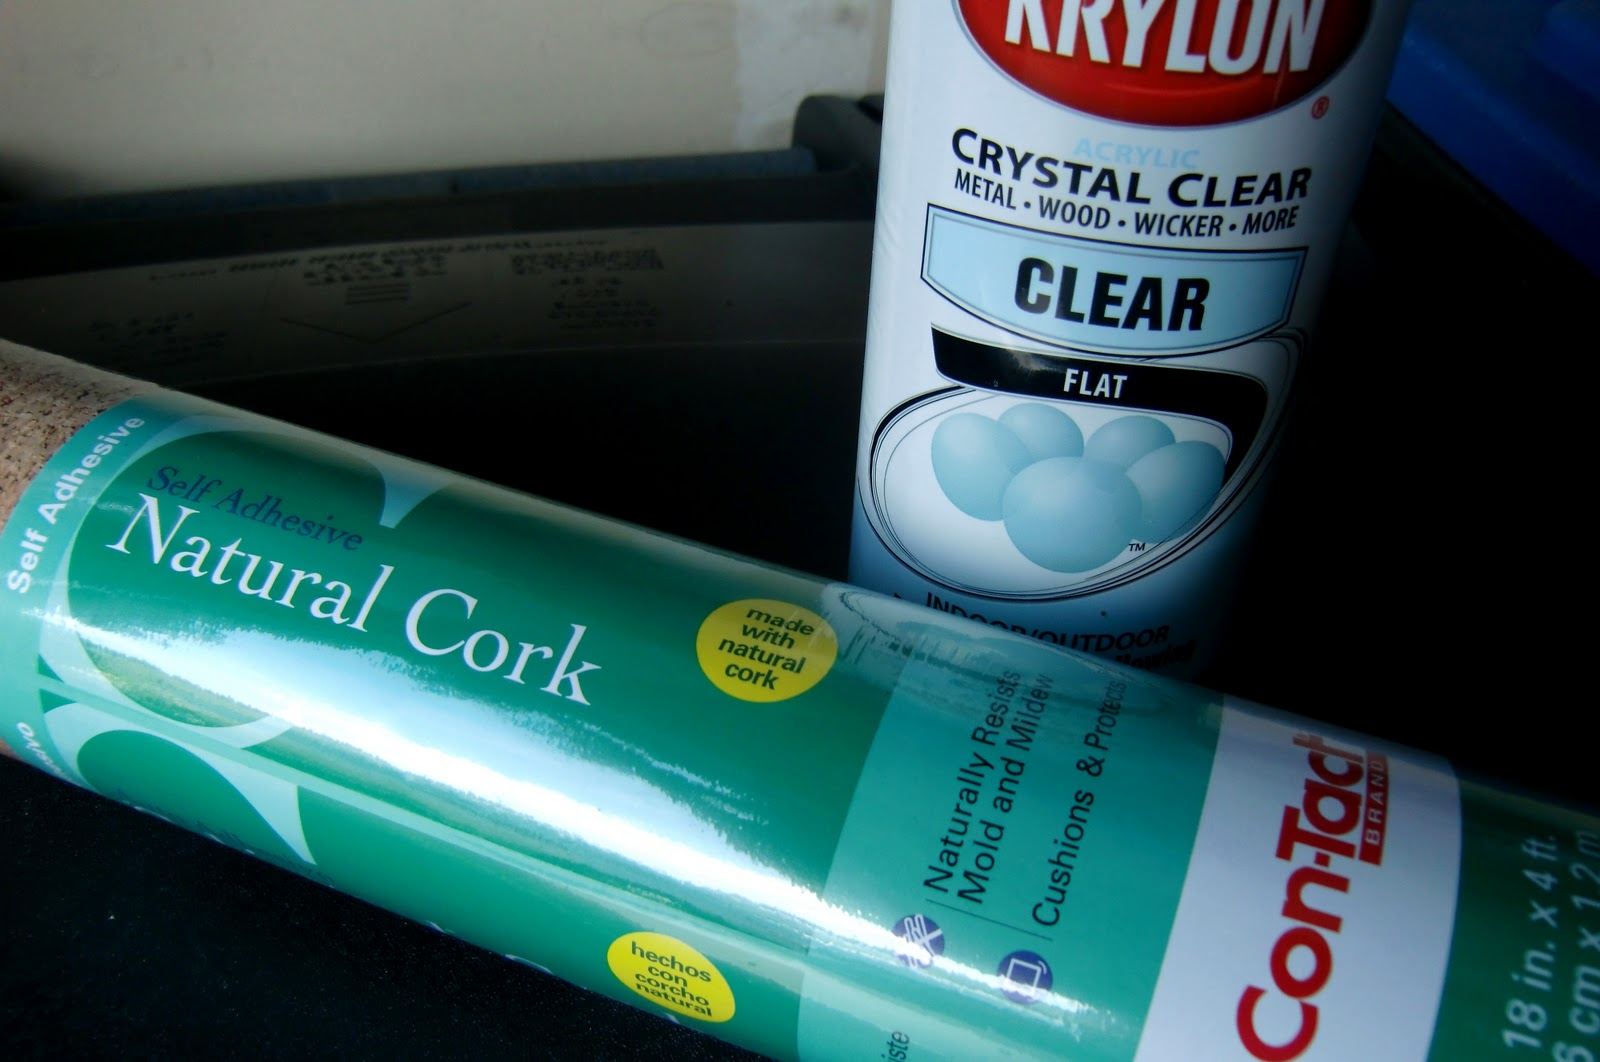
Supplies Needed:
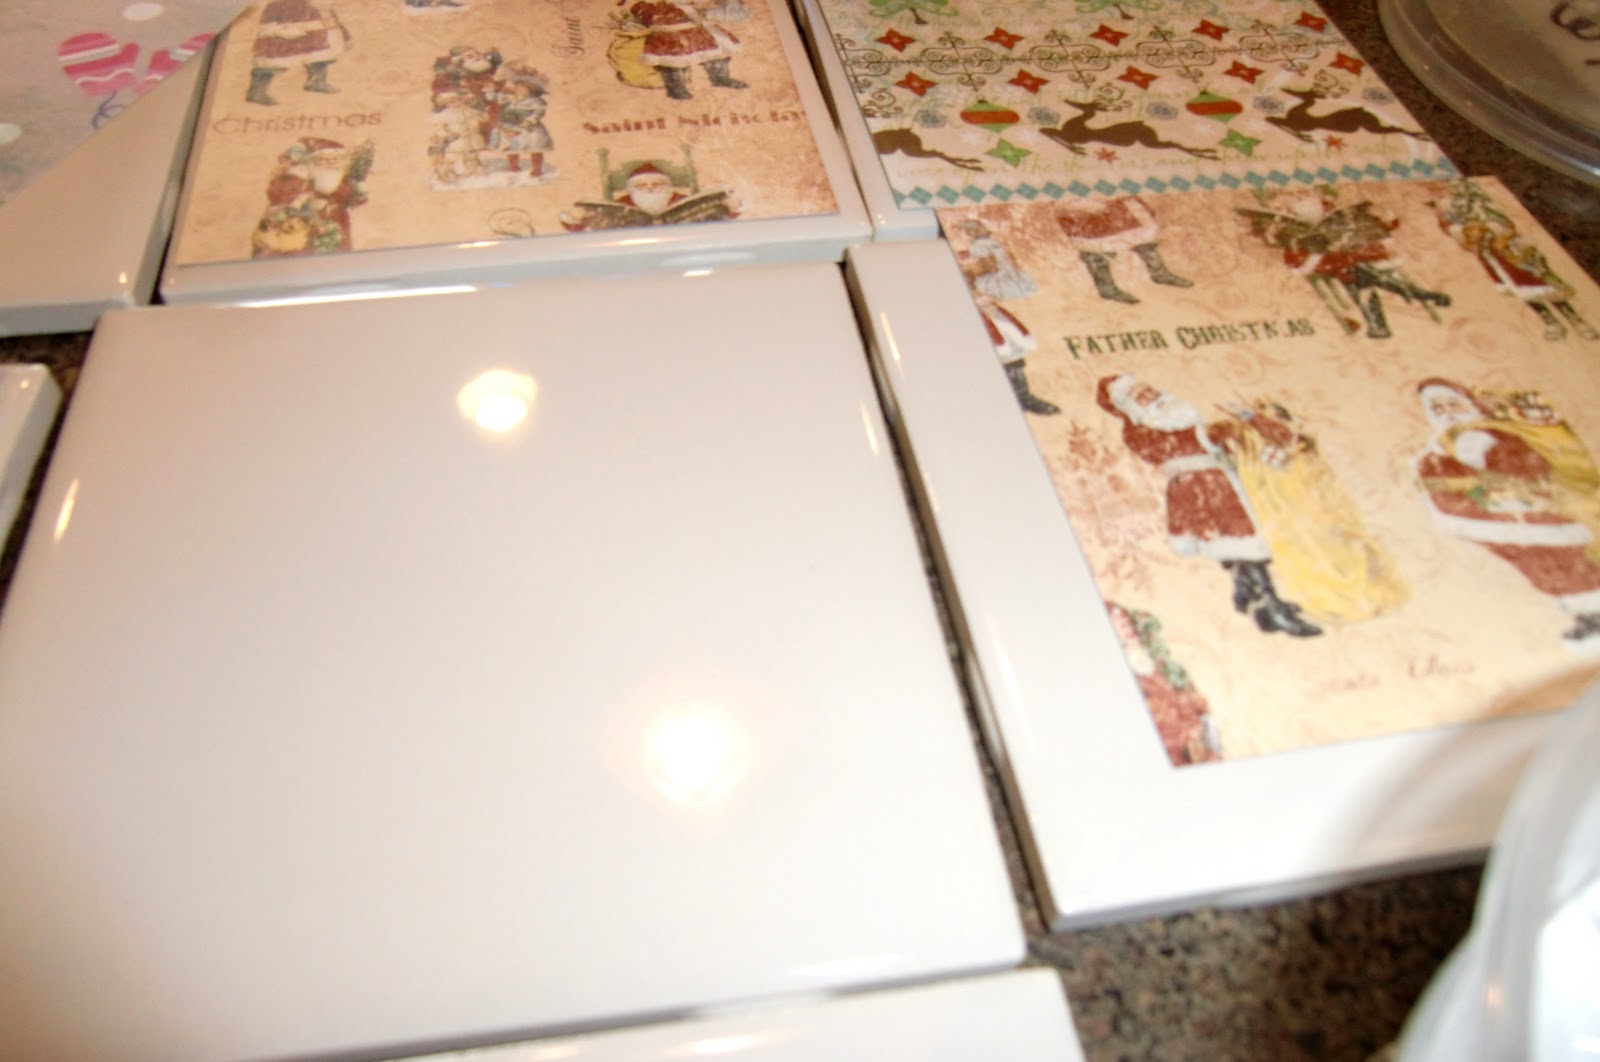
16 cent tiles from Home Depot
Clear spray paint (I used both satin and flat...I can't tell which one I like best)
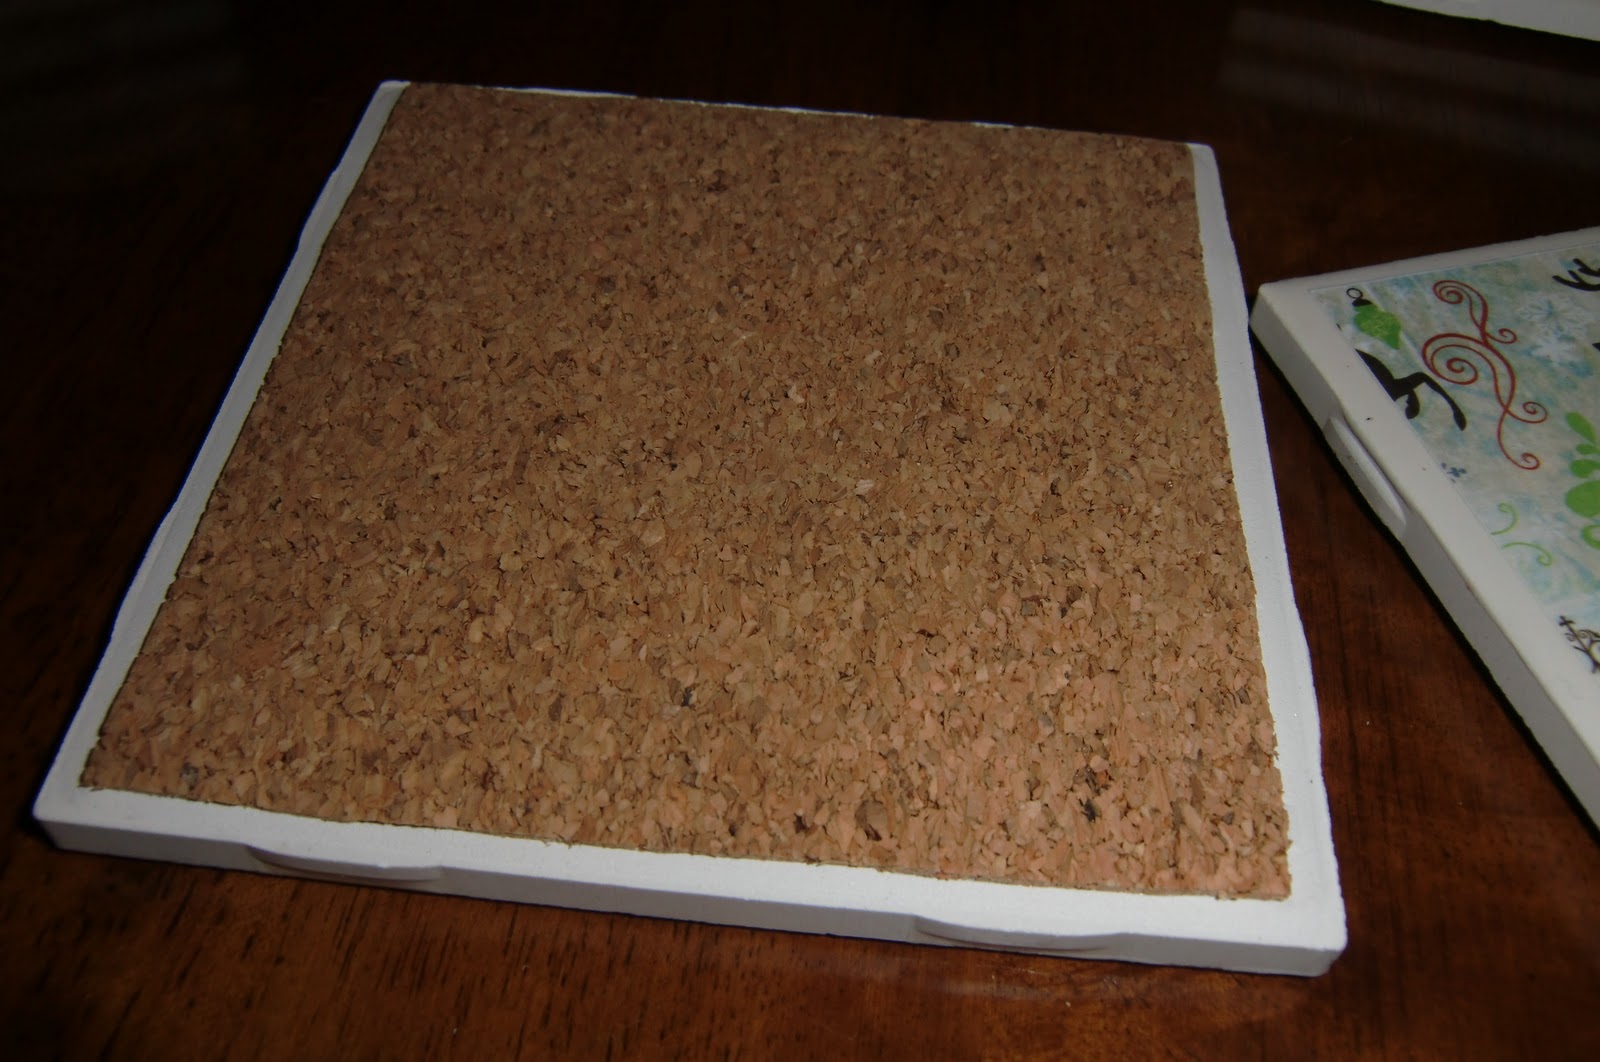
Cork (Home Depot has it in rolls with stick back--PERFECT!)
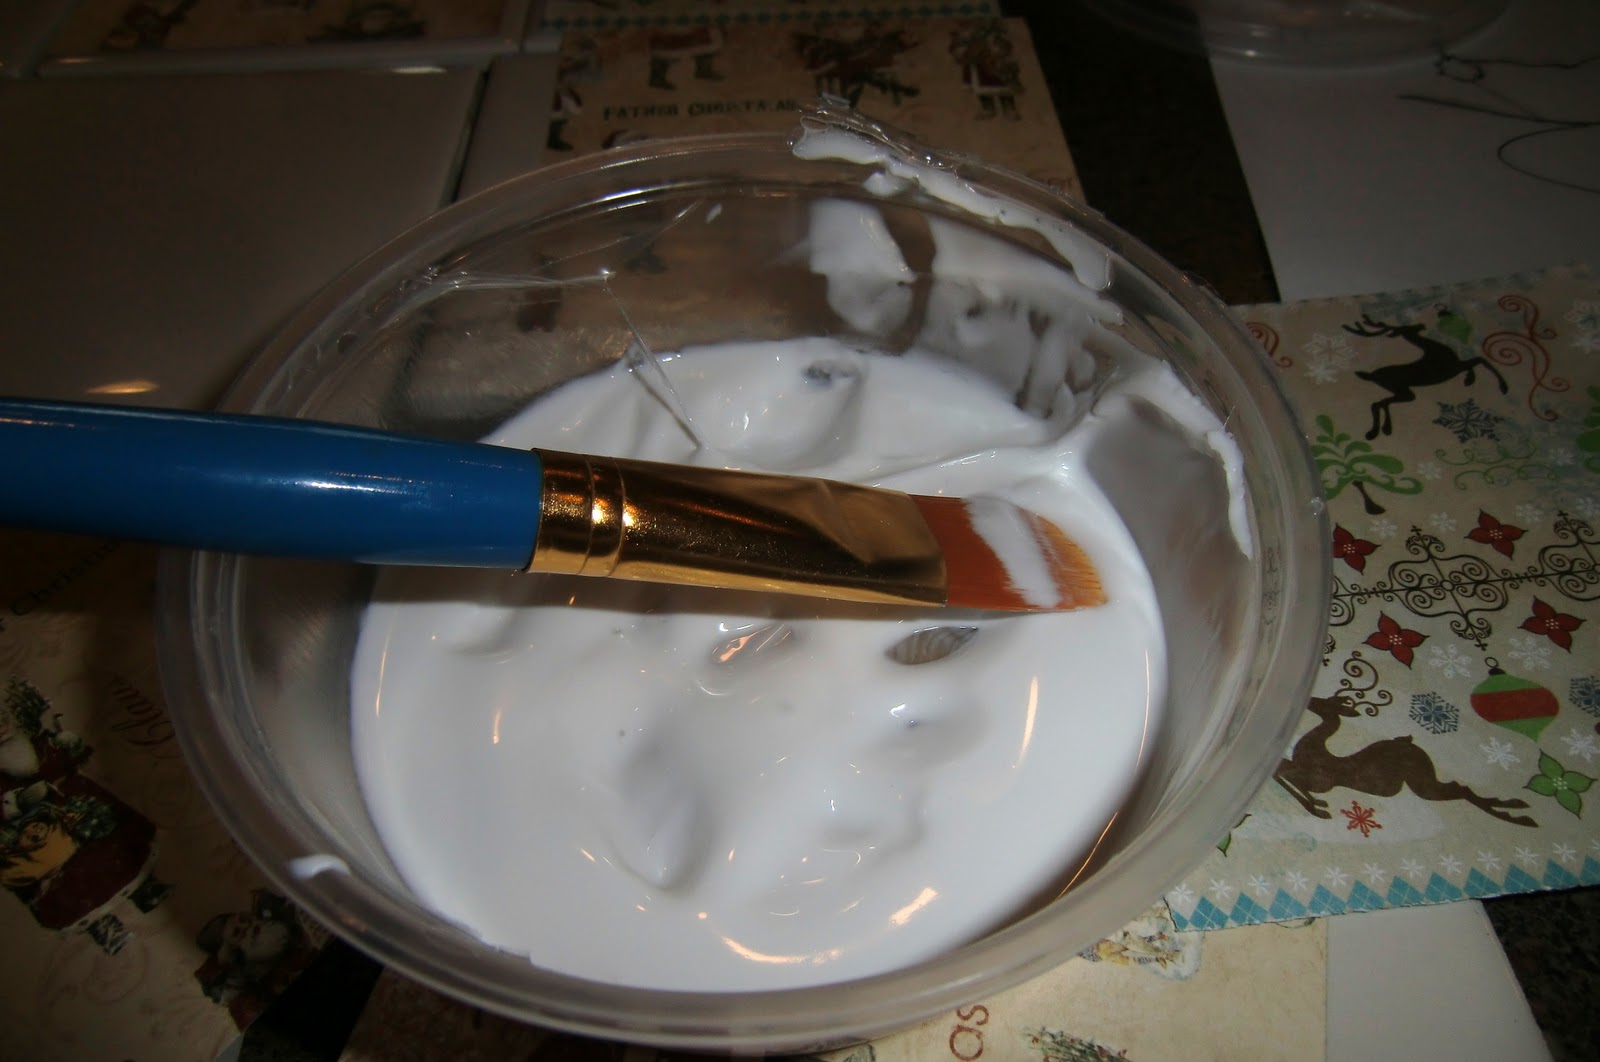
Mod Podge
Paint brush
Scraps of Scrap-booking paper (I suppose you could use cloth also)
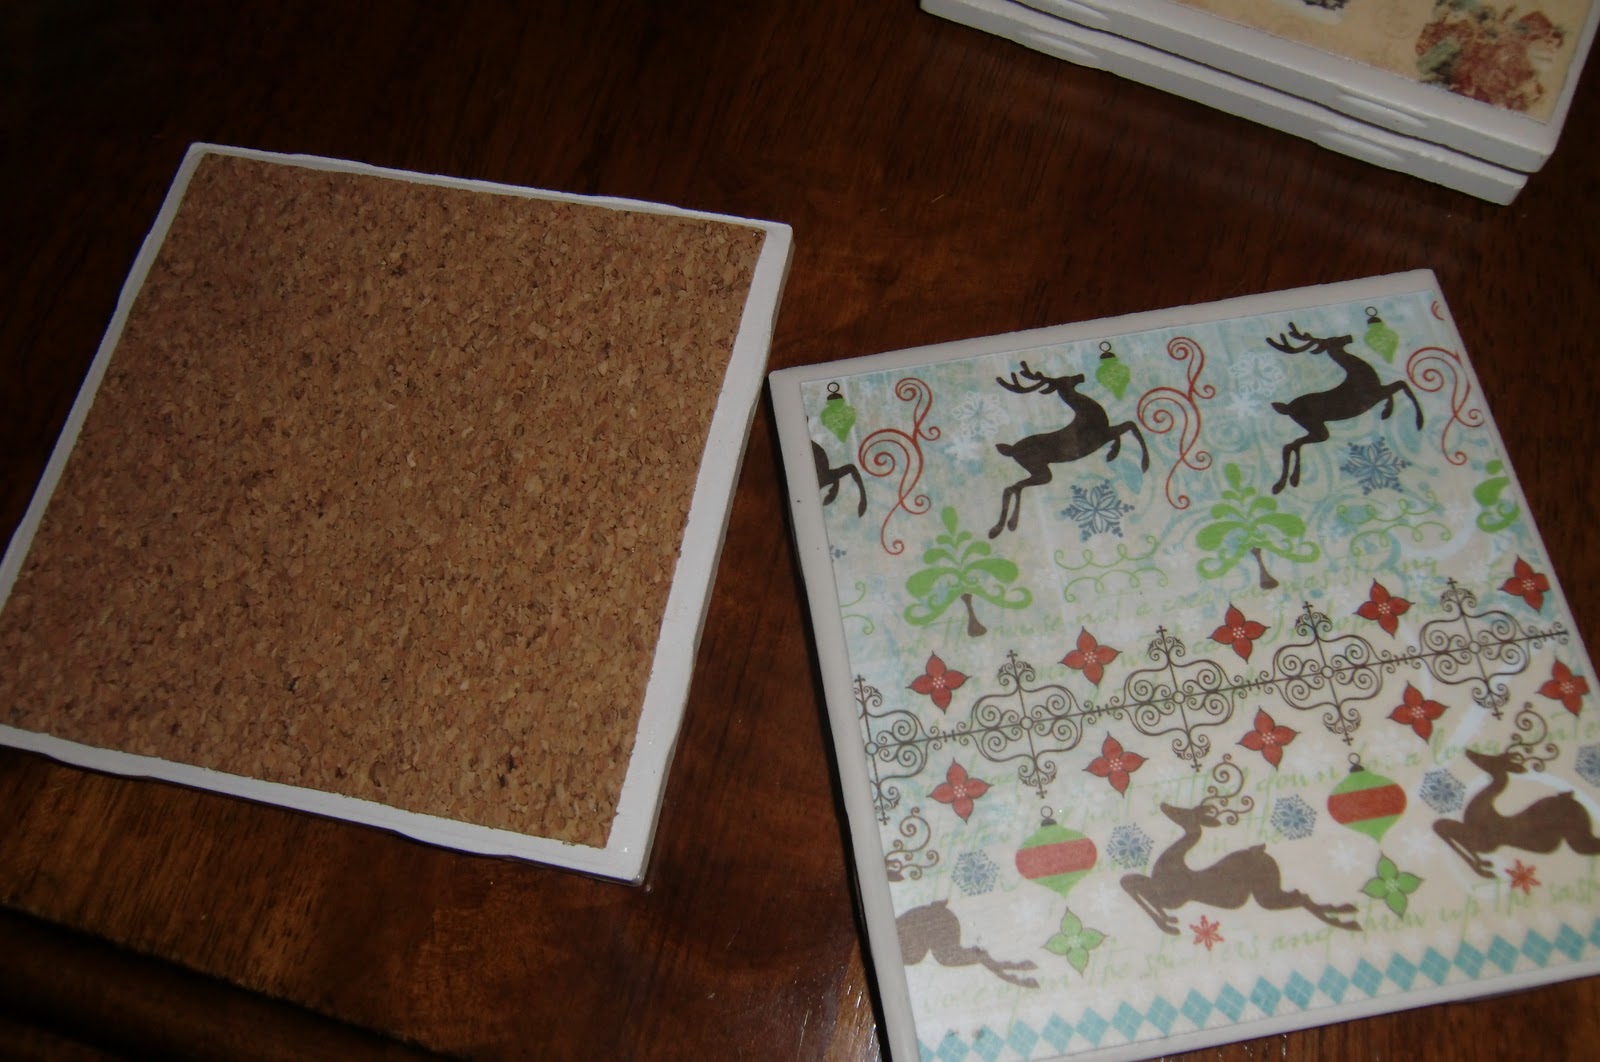
Cut your cork and scrapbook paper into 4" squares.
Mod Podge! Have I mentioned how much I LOVE this stuff! I don't know what it is...but it's fun--and you can use it for anything! I have heard that "glittery" Mod Podge exists! I haven't seen it or used it, but when I do--oh boy!!!!
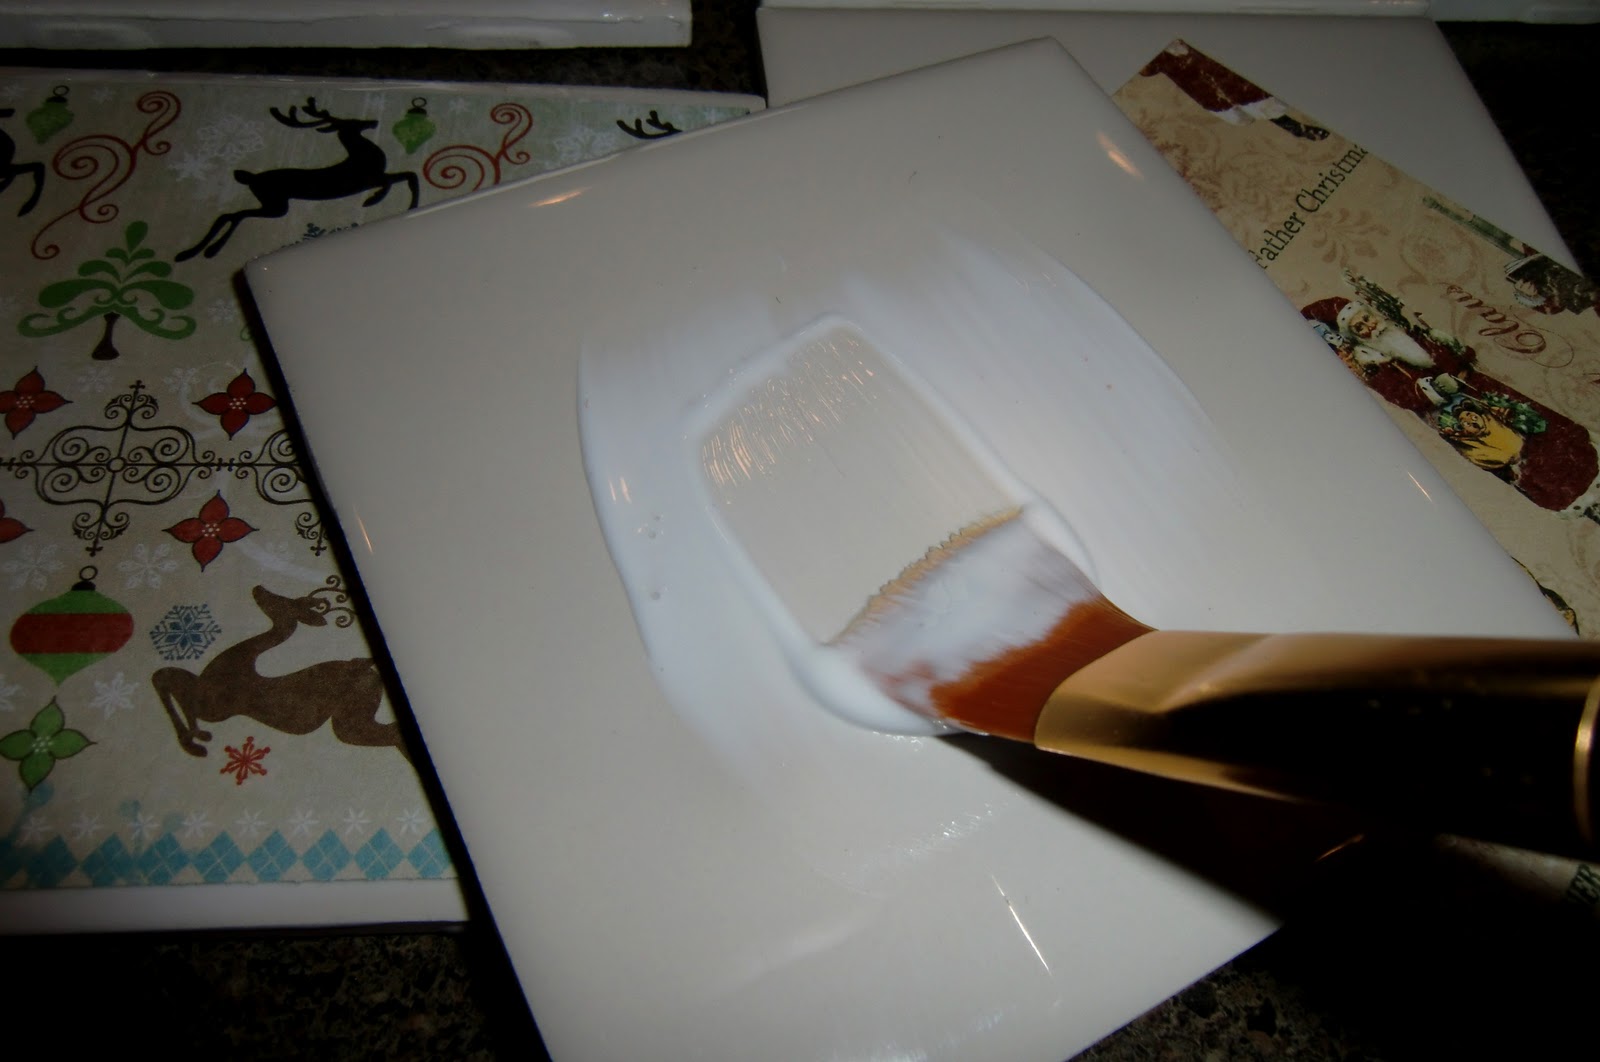
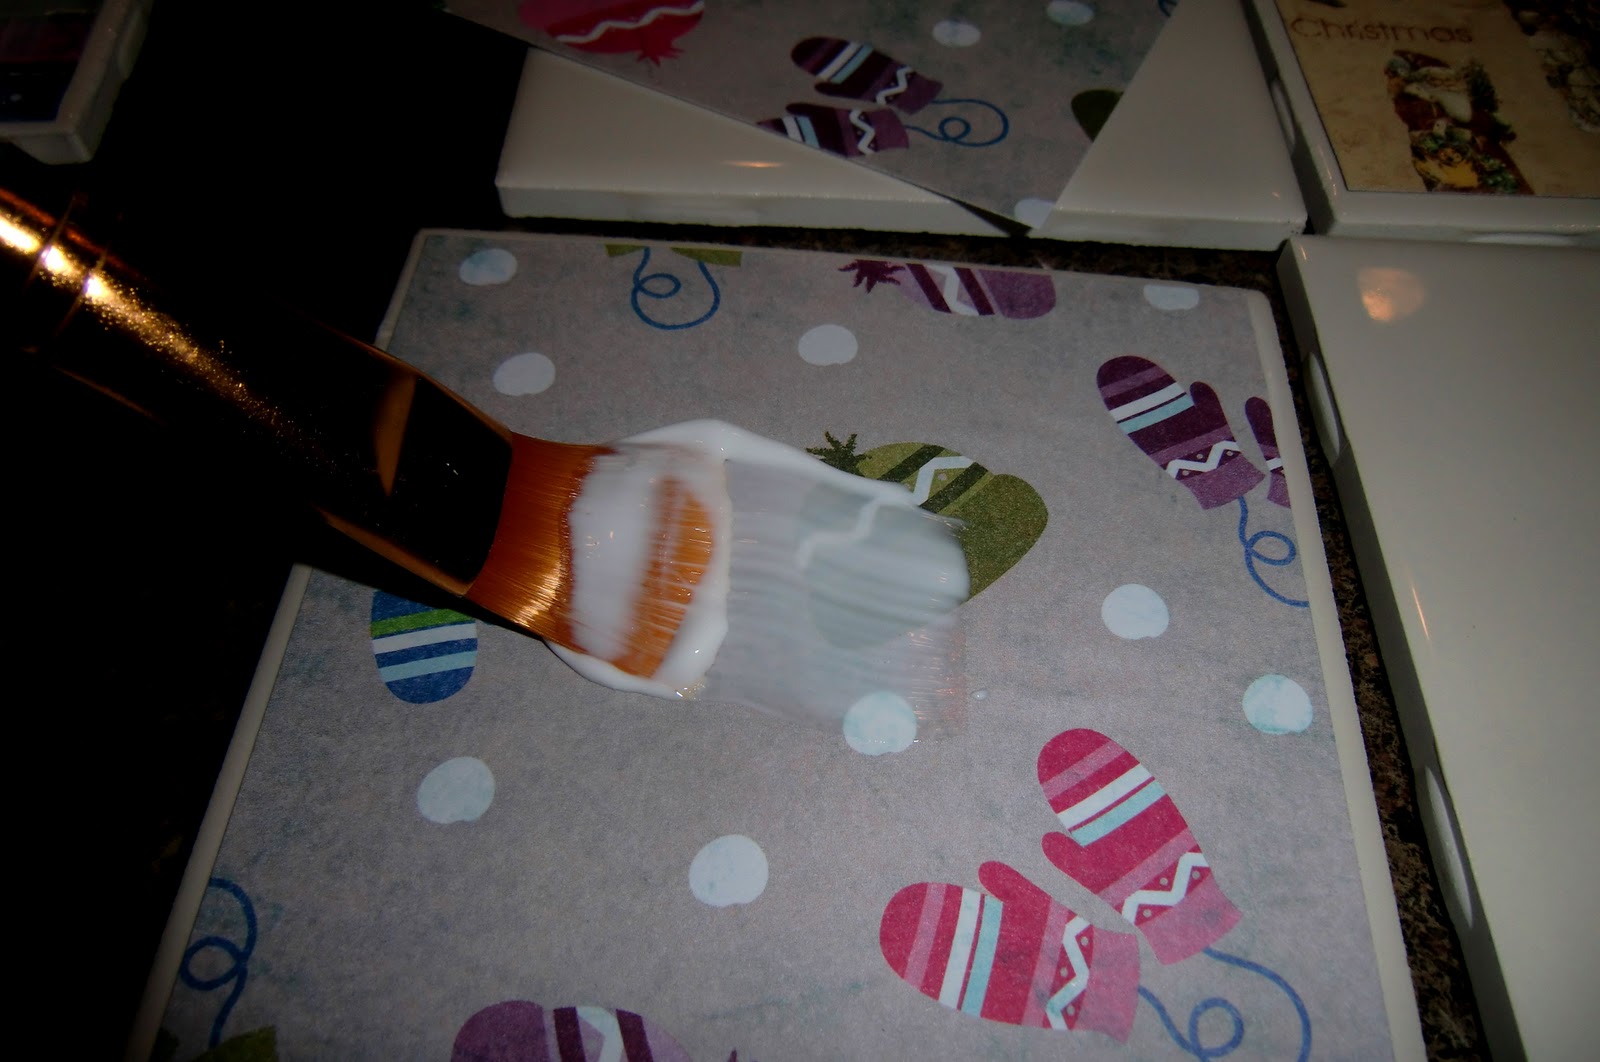
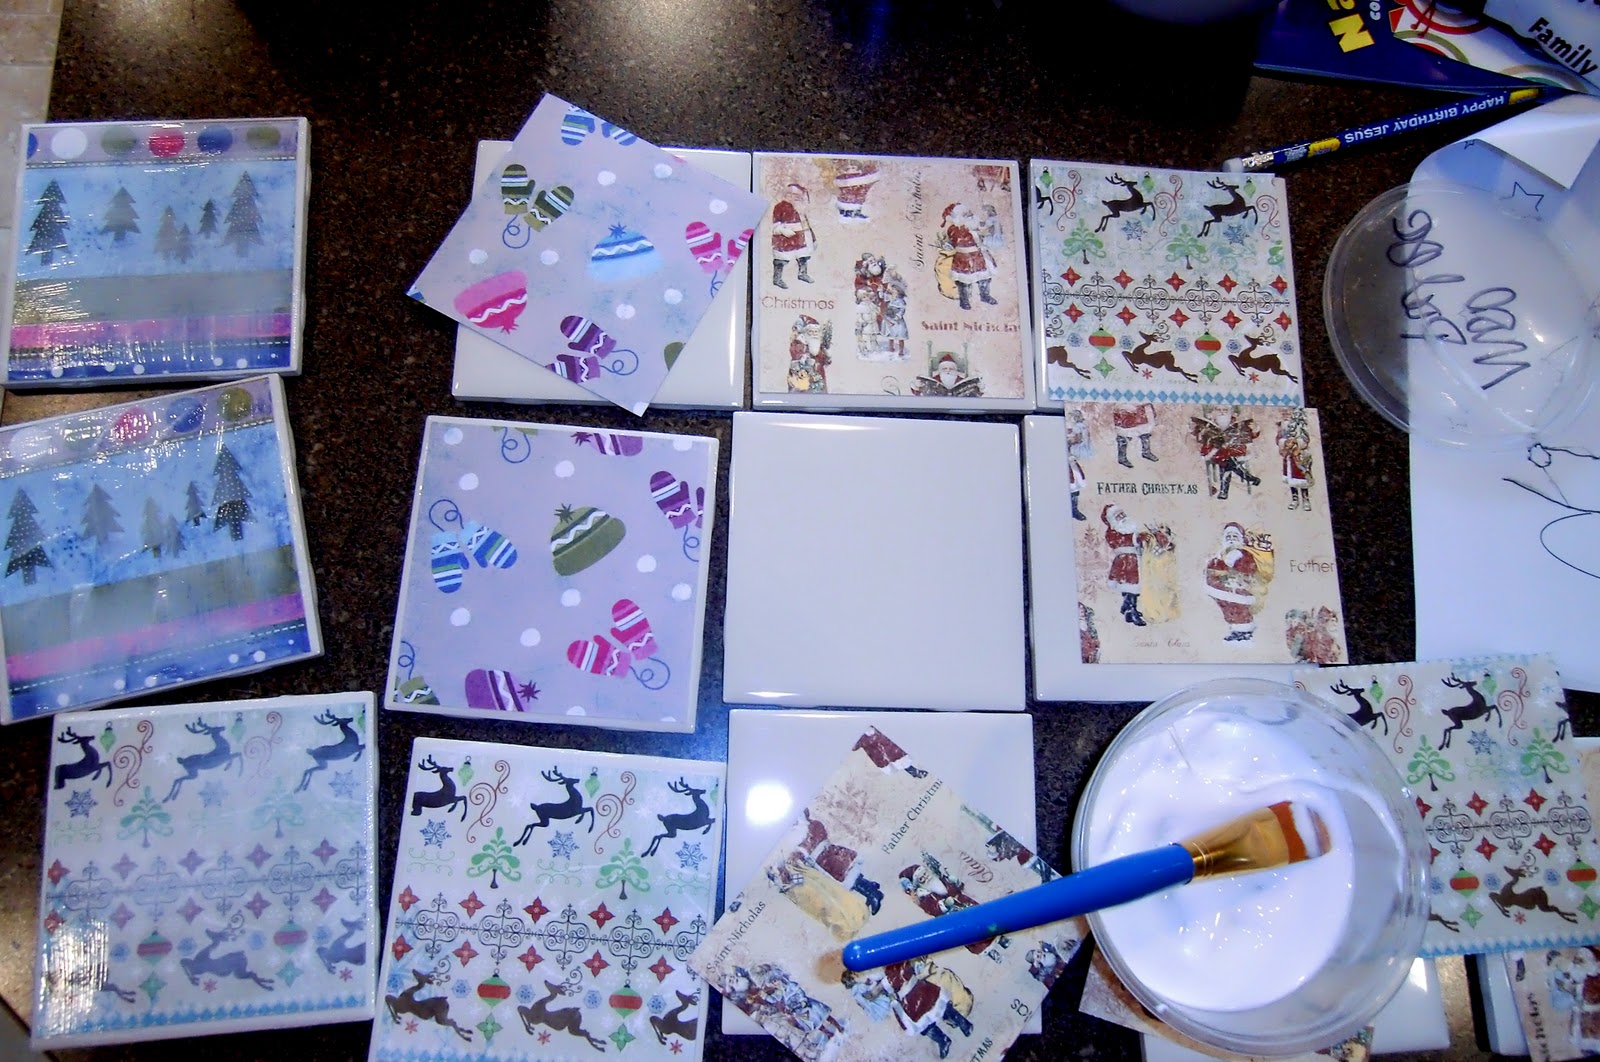
Liberally apply your Mod Podge to the top of your tile. (one at a time...you don't want it to dry to fast!)
Then: More Mod Podge! Fun! Right over the top of the scrapbook paper!
Don't worry about brush strokes, they disappear. However if your paper "bubbles" press it out with your finger tip and reapply Mod Podge over the top. The brush strokes won't show up, but your finger smears will.
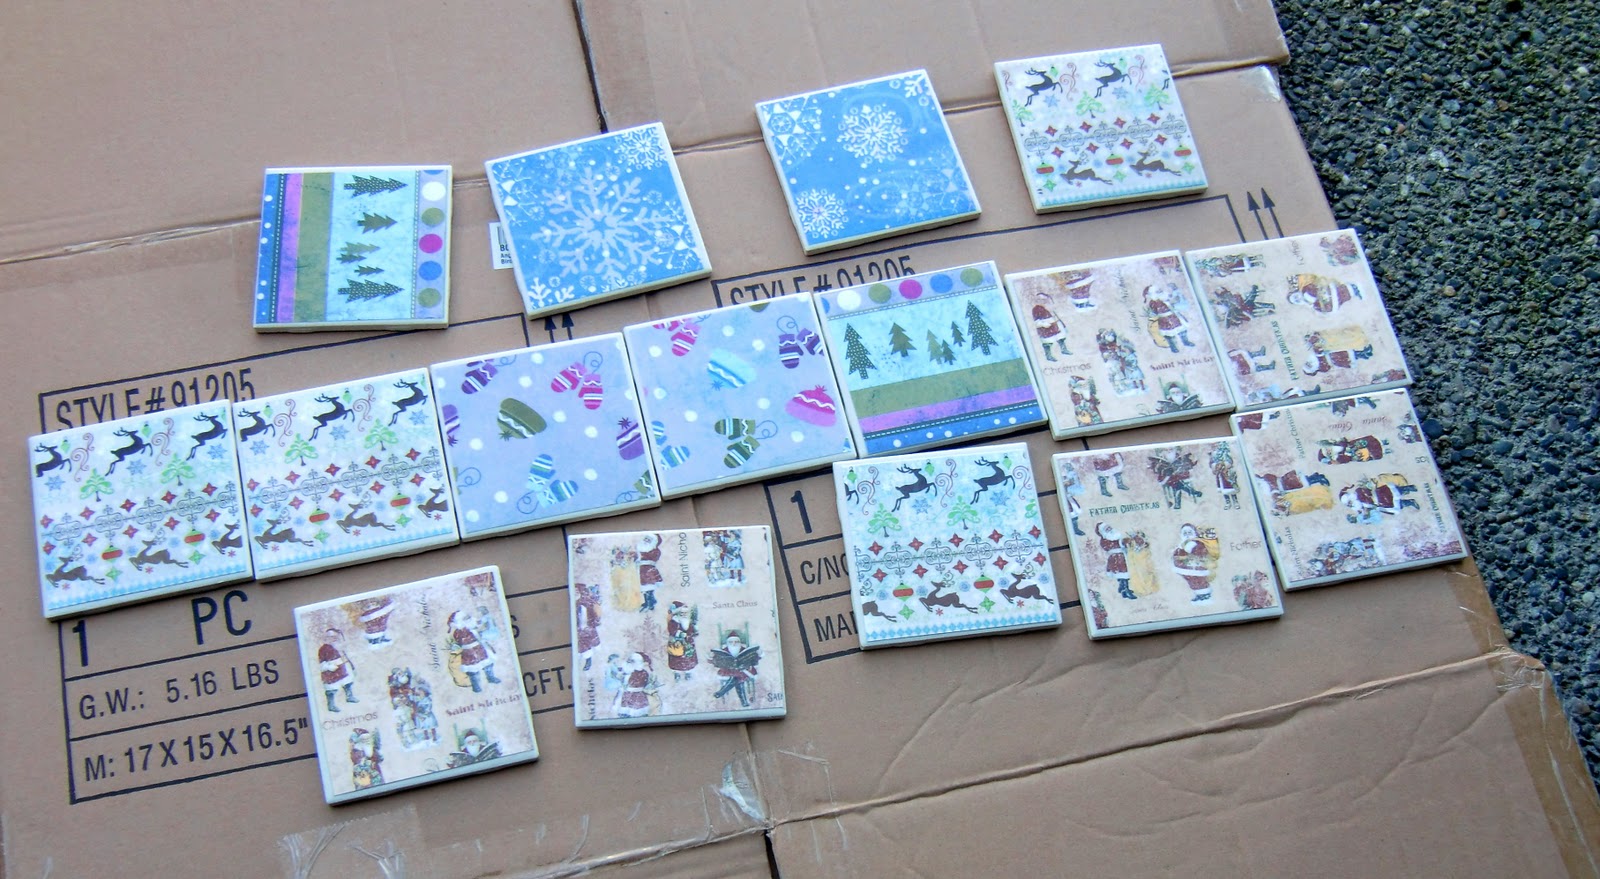
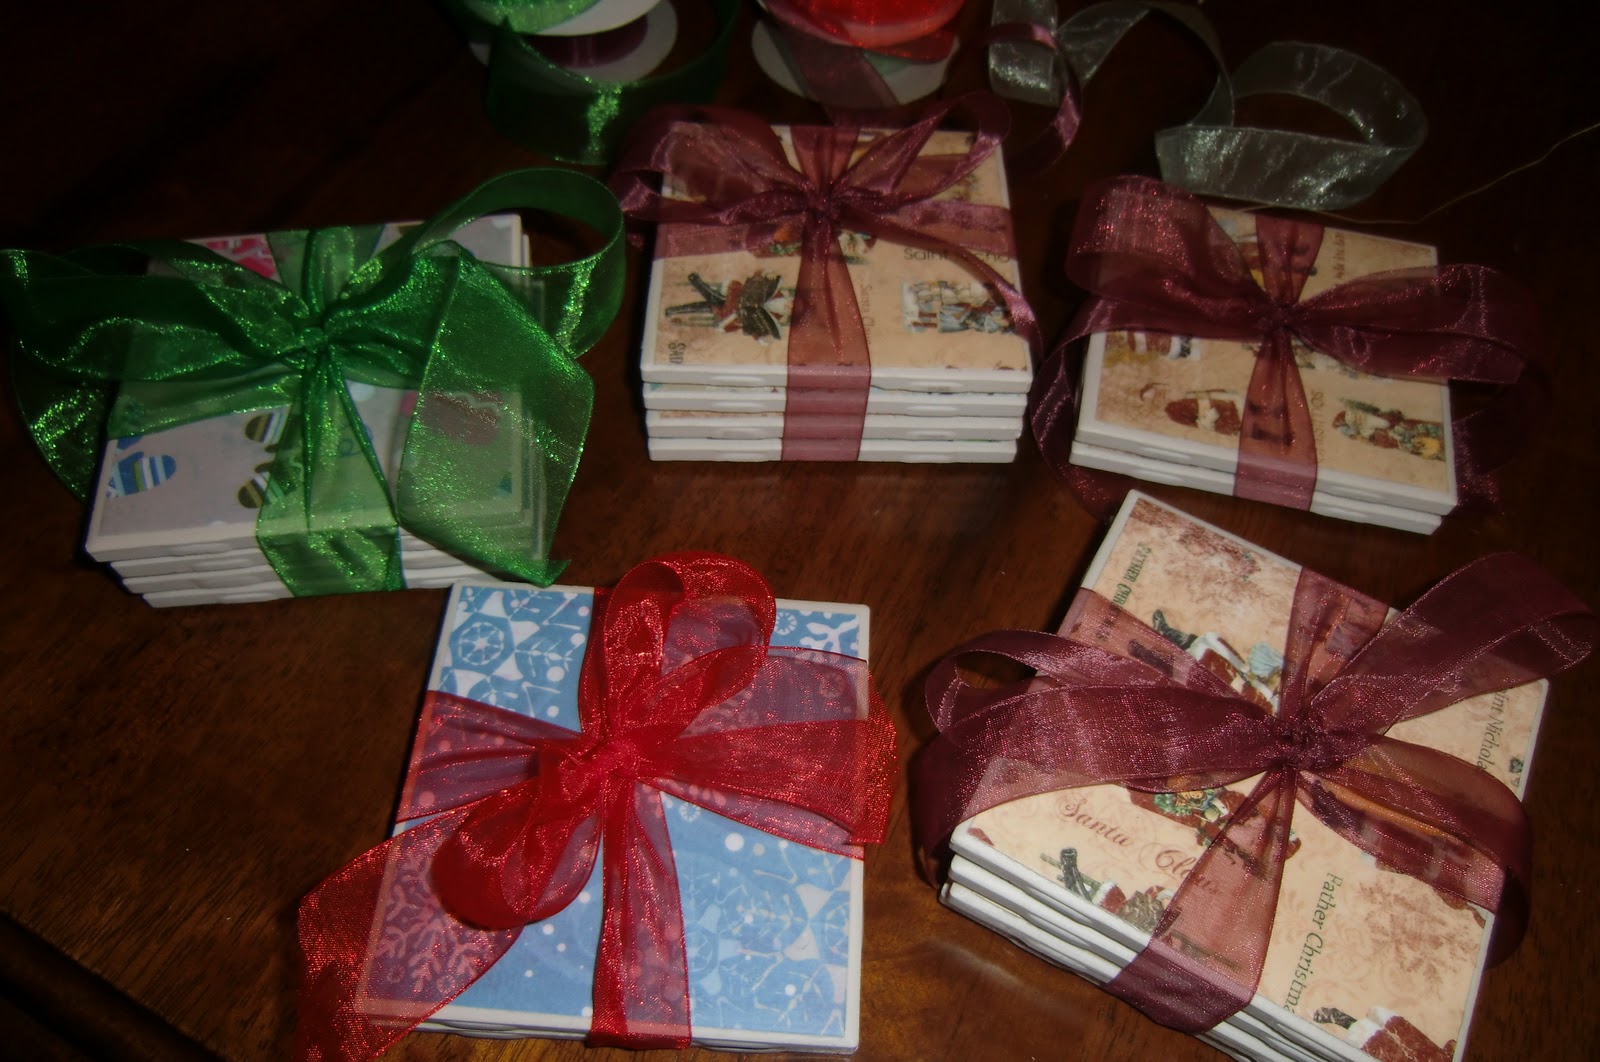
Here it is mid-way. i had lots of sets of coaster I was going to do!
After the Modge Podge dries, which took about an hour (depending on how thick you cake on the top coat). Take them outside and spray them down with some clear spray paint.
Give it several good coats. It takes about 10 minutes in between coats. This will keep the Mod Podge from coming off and your coasters will actually be USEFUL for placing drinks on.
Once the paint is dry (which would probably be about 4 hours) you can move on to the last step of applying the cork. I had other things to do, so I didn't do the last step until the next day which was fine and probably better.
(This is one of the matte finish ones...I like it because it looks more professional....but the gloss is an added bling--you know--shiny!)
Not too shabby, huh?
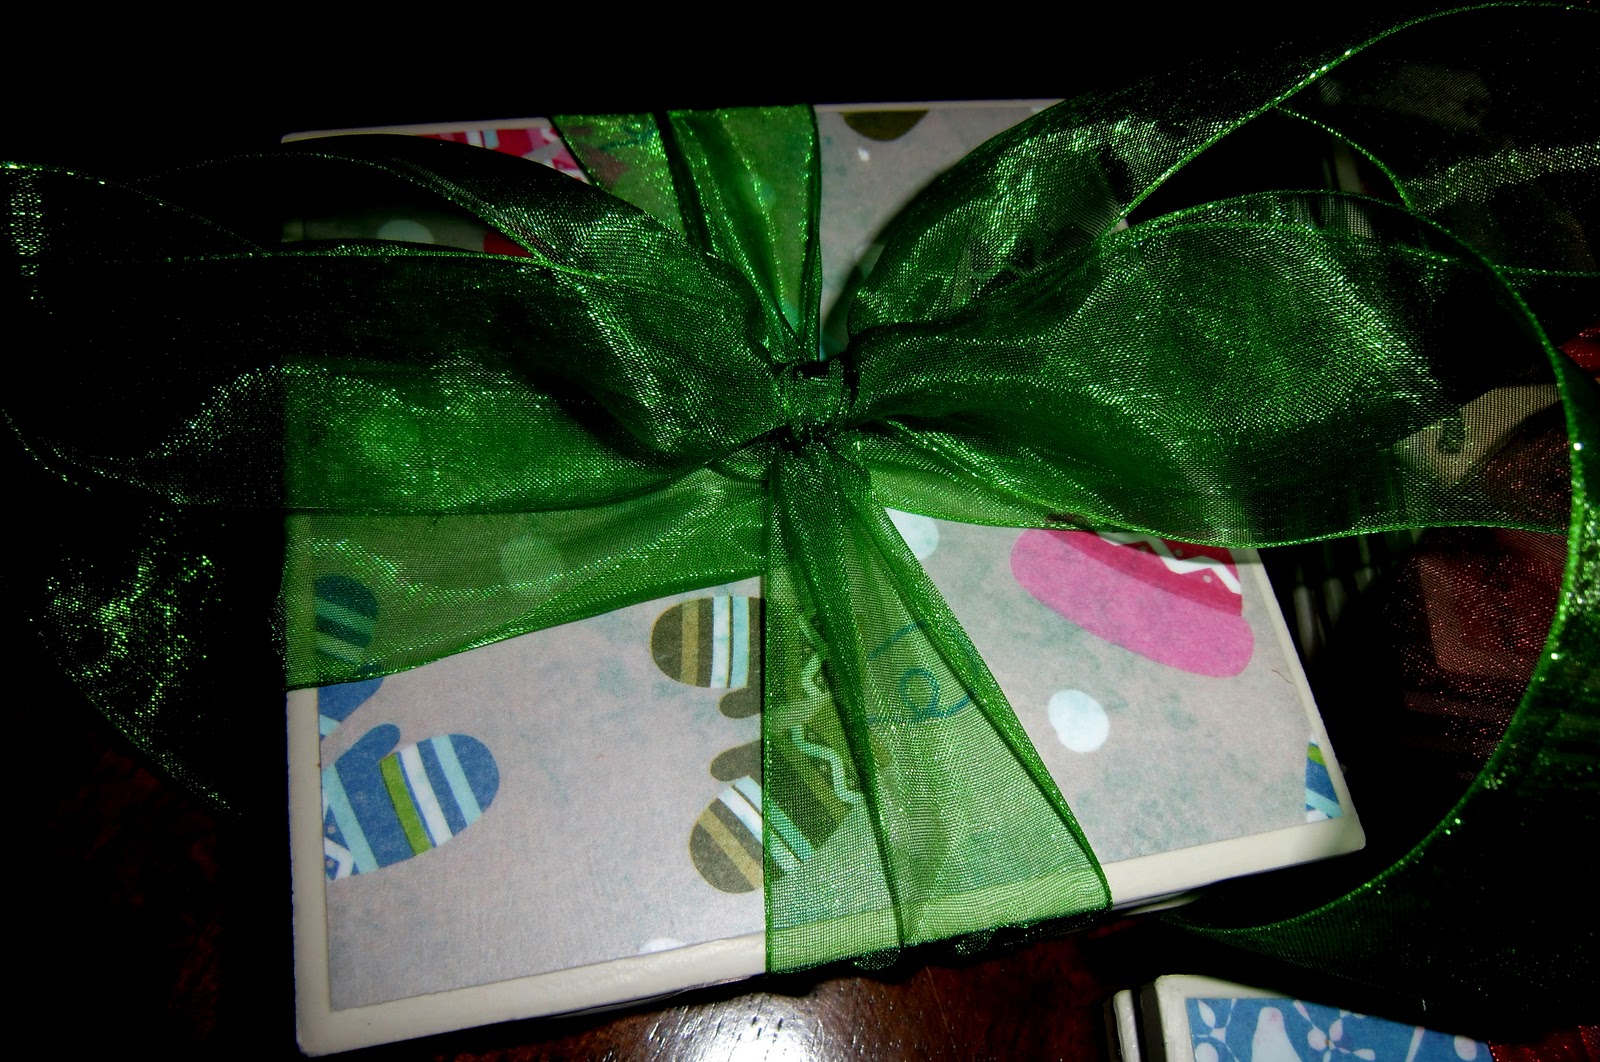
Stacks of 2 or 4 make a nice gift! And they are useful--which I said. These coasters can be made for any season, or occassion. I saw ones on the lovely Pintrest with initials on them.
Go for it! It's easy--the kids even helped me! It's that easy!
They were a big hit at Christmas...well, at least i think they were...maybe people were just being polite! I liked making them, and that's what is important. (I'm kidding!)
*mostly*

No comments:
Post a Comment